Add a person
Use this guide for someone who signs in with a refiroo password. You need Security administration. For ordinary password sign-in, local sign-in must be on. Creating an account alone does not give it the retained recovery route when local sign-in is off. For someone using your organisation’s provider, first sign-in creates their person instead; see People and groups for that route and linking existing accounts.
Create the account
Section titled “Create the account”- Open Settings › People and access › People. Check the Active list or search by name or e-mail to avoid creating another account for the same person. Check Deactivated too; Restore reactivates an existing person with their retained roles and groups.
- Choose New person. Enter Name, the display name used in lists and history, up to 200 characters.
- Enter E-mail, the address they sign in with. Another person cannot have the same address.
- Leave An administrator manages this person’s sign-in unticked for someone who manages their own password and sign-in methods. Tick it for an account whose sign-in you look after, such as a shared reception account or an account on a training machine. Its help text explains that they cannot change their password, second factor or passkeys, or sign out other browsers. Only someone with Security administration can set this option. It is off by default. Wrong passwords entered for a shared account’s e-mail address slow sign-in for everyone using it. See People and groups for the limits and recovery options.
- Choose Create and make a password link. Cancel leaves the person uncreated. If a field is refused, correct the named problem and submit again.
Pass on the password link
Section titled “Pass on the password link”- When Pass on the password link opens, copy the link using its copy control. Give it to the intended person through your agreed private channel. They choose their own password.
- Read the expiry shown in the dialog. The link works once and a newer link replaces it. Choose I have copied it only after saving or passing it on; it is not shown again.
- With mail configured and an address on the person, creation also queues the link for mail. The dialog reports that outcome. Mail it to … is available to make and mail a replacement. Mailing makes a replacement link, also shown in the dialog. Use that newest link rather than the earlier copy. Check the dialog’s sent-to message; do not assume mail was sent.
- If the person was created but no link dialog appeared, open their page and choose Make a password link (or Reset password once a password is set). Do not create them again. This click makes the link immediately, with no confirmation before it.
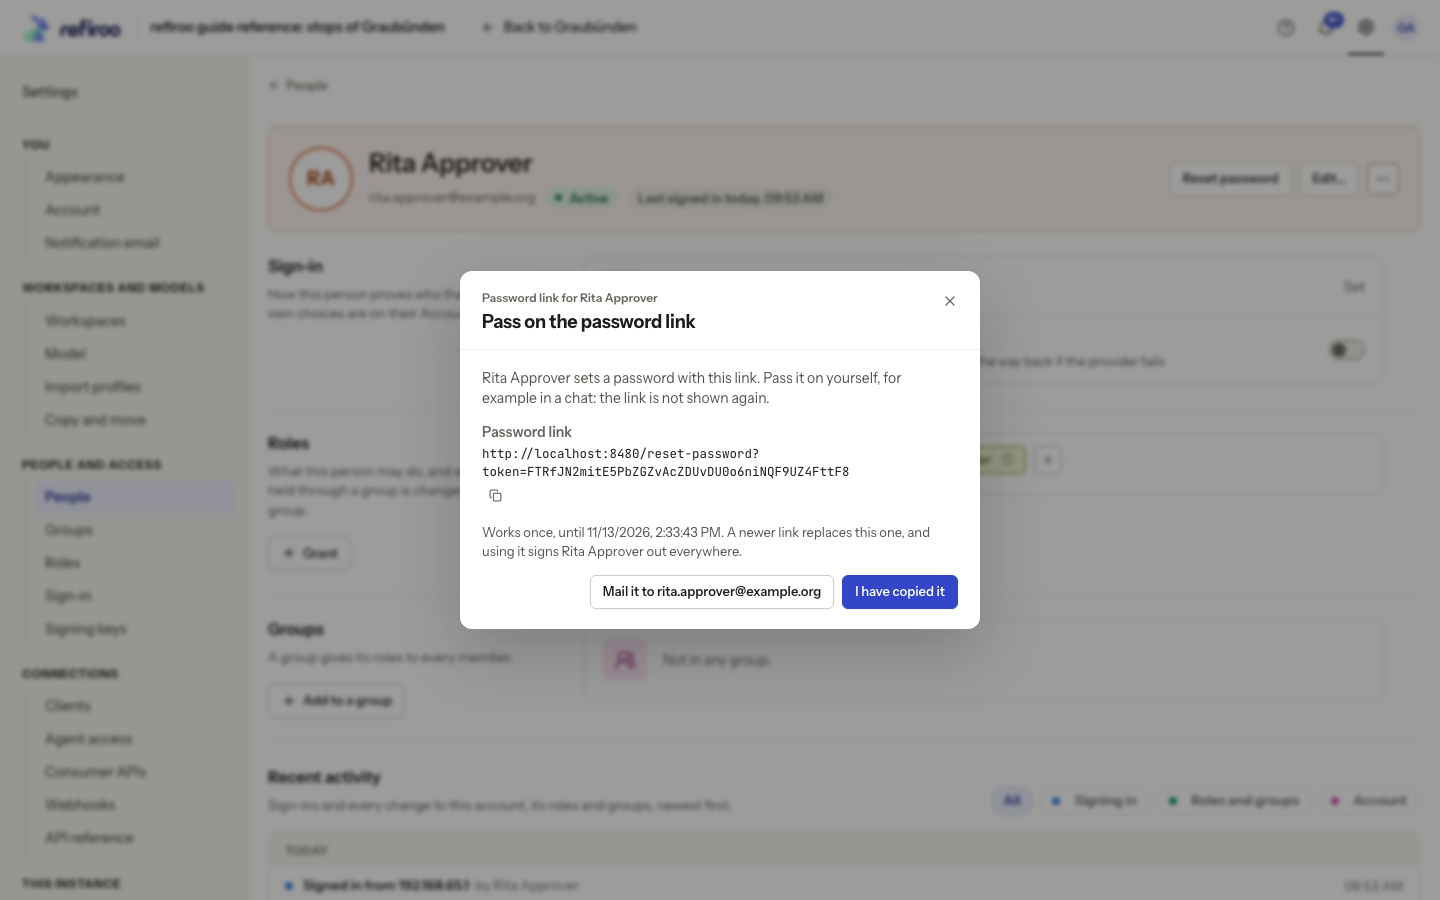
Above: a reset link for fictional Rita Approver, not a newly created person. Creation uses the same link dialog. Its example address is not one to reuse.
Give them access and check the result
Section titled “Give them access and check the result”- On their page, inspect Roles. A new person has none. Follow Grant a role for the intended workspace, or add them to a group that holds the required roles.
- Ask them to open the link and set a password. A rejected password gives a reason; they must choose another. An expired, replaced or used link needs a new Reset password link.
- Ask them to sign in and check the expected workspace and actions. If the instance requires a second factor, someone who manages their own sign-in sets one up before their session starts. An administrator-managed account with no factor signs in with the password alone, even when the instance requires a second factor. If the workspace is missing, review the grant’s workspace and whether its role includes Browse.
Creating a person does not send them data or grant access automatically. Keep the e-mail address correct; use Edit… for later name or e-mail corrections.
For delivery problems, check Mail › Messages. A queued message can still fail; the one-time dialog is not proof of receipt.