Map codes between systems
Connect each source record to the intended target using a mapping grid. Codes from another system are one example. See Mapping grids for states, limits and permissions.
Find the rows that need attention
Section titled “Find the rows that need attention”- Open an application in the current workspace and choose a collection with a mapping grid. Select the mapping tab. Check the heading and the source and target types in its description.
- Check the banner. Choose Live for immediate changes, or open a change set to prepare them together.
- Search for the source records you need. Read their codes and other identifying fields. Select Unmapped for rows without a connection, Mapped for rows with a target, or, on a view where a source may hold only one, Ambiguous for rows with several. All removes the state restriction.
- Inspect each target’s name and identifying fields. Select a source name or target chip to open that record’s page for a closer look. Decide whether the current state needs changing. Clear search and select All if an expected row is absent. A read error needs a retry; it does not mean a row is unmapped.
Choose or replace a target
Section titled “Choose or replace a target”- Choose Map on an unmapped row or Change on a filled row. Change mapping opens with the source name in its heading and the current targets, or Not mapped, under Currently. Check these before searching.
- Search for the intended target and inspect its identifying fields. Select its radio button. If nothing matches, shorten the search and check the model’s candidate rules. Do not select a similar name merely to fill the row.
- Choose Save. This sets the row to the selected target, replacing any previous targets, including all targets of an ambiguous row. Check the refreshed target and state. If the row no longer matches the active state filter, switch to All and find it again.
- Choose Cancel if no correction is needed. Where Save and next is offered, it saves this choice and opens the next row; check that new source before choosing again.
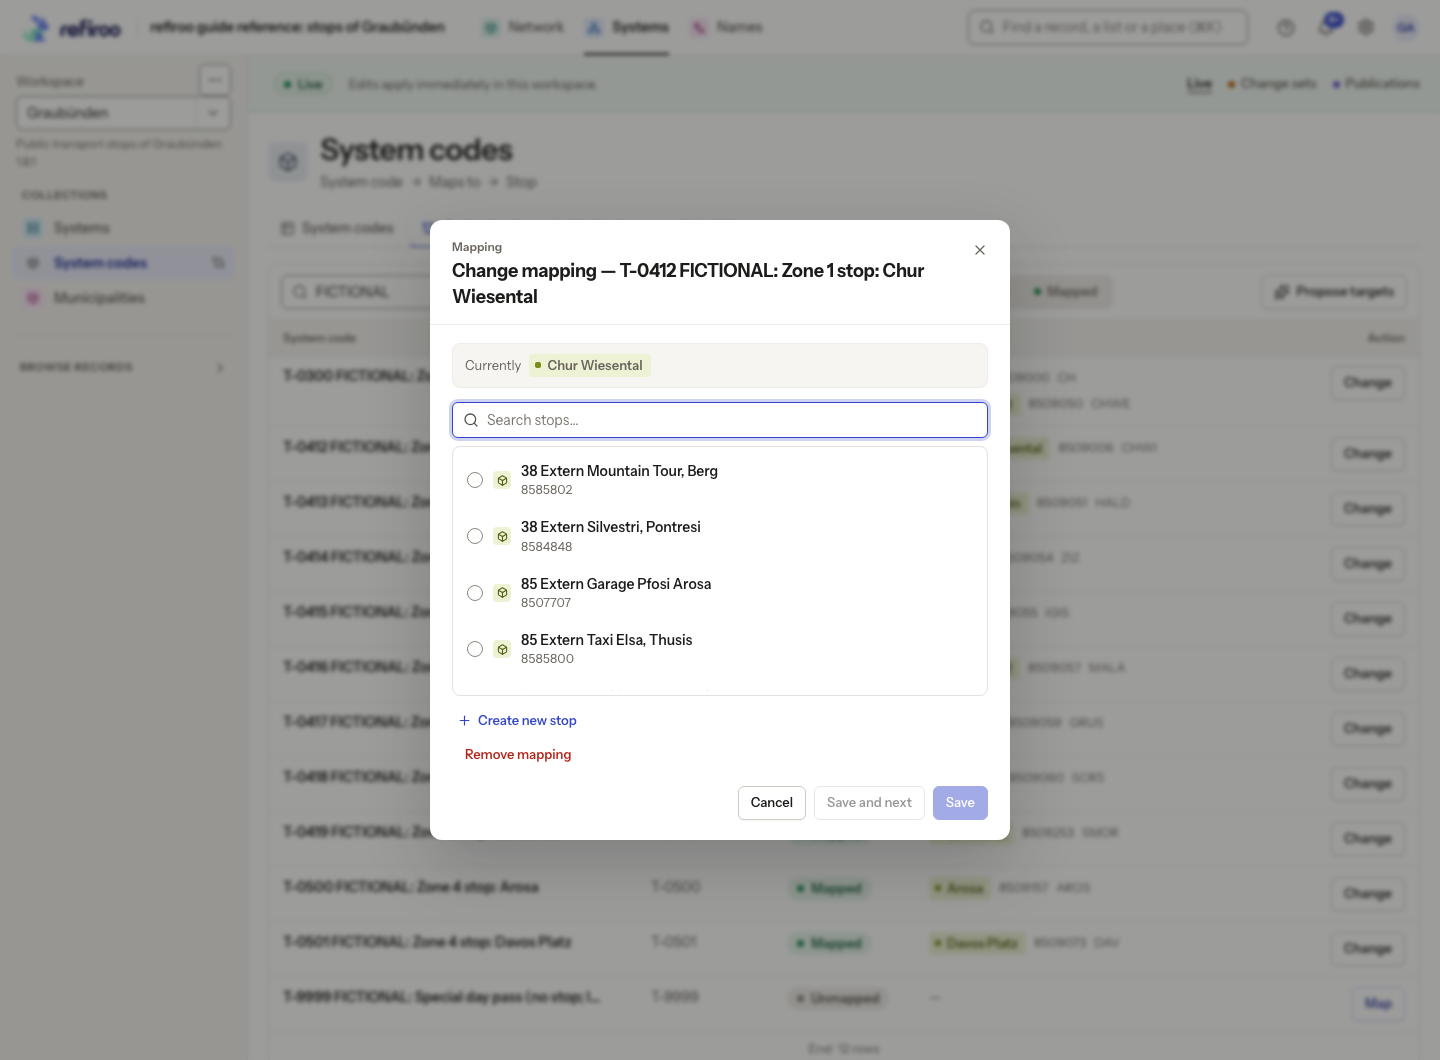
Above: The fictional code T-0412 is currently mapped to Chur Wiesental. Change mapping offers a stop search, Create new stop and Remove mapping; no replacement has been selected.
To retain several valid targets, use the record’s relationship controls. Saving one selection in this dialog resolves the row to one target.
If the target does not exist
Section titled “If the target does not exist”- Search carefully first. If a new record is needed, choose Create new followed by its type name. The target creation form opens.
- Check its application and parent where offered, then fill Name and the required fields. Choose Add followed by the target type’s name, or Cancel to return without creating a target.
- After creation, review the selected target in the mapping dialog and choose Save. Creating a record does not itself finish the mapping. If you cancel now, the new record remains.
Remove a mapping
Section titled “Remove a mapping”- Choose Change on the row and review Currently.
- Choose Remove mapping inside the form where offered. This clears the row’s mapping and keeps the source and target records. Check Unmapped, using All if your previous filter hides the row.
- If the dialog says the mapping is required, choose an allowed replacement instead of clearing it. Cancel keeps the current mapping.
Handle a refused save
Section titled “Handle a refused save”If Mapping conflict appears, read Current mapping and compare it with your intended selection. Choose Cancel to leave it as it now stands. Choose Continue with my selection only after reviewing the other change, then save again. A further intervening change can cause another refusal. Other Save failed messages name a rule to resolve before retrying.
If editing actions are missing, check your context and permissions. Reader can inspect; Contributor works in change sets; direct Live writes need Edit live. Publishing proposed mappings has its own conflict checks; see Change sets.
Screenshot data: Source: opentransportdata.swiss, Service Points (Didok), Federal Office of Transport / SBB, snapshot 2026-11-02. Wikidata, CC0. See The example data for sources and fictional additions.