Manage an assistant's access
Use Settings › Connections › Agent access with Security administration across the instance. Read Agent access first for permissions, data sent, call retention and the limits on prepared changes. External assistants may send permitted data to their own provider and incur charges there; refiroo’s built-in AI send levels do not control them.
Connect a person’s assistant
Section titled “Connect a person’s assistant”- Open Settings › Connections › Agent access. If it says Agent access is off, ask the operator to enable it and restart the server. The page cannot switch it on.
- On the Access tab, under How to connect, copy Address and give it to the person connecting their MCP assistant. Use the address shown rather than constructing one from the browser’s current page.
- Ask the person to add that address in their assistant. It opens this instance’s sign-in page, naming the assistant and where it returns. They should check those details before signing in. The name is what the assistant says about itself.
- After sign-in, the assistant uses the person’s existing grants, limited to reading and preparing changes. It does not need a new Agent role. Under Assistants people sign in with, check its Returns to, Signed in now and Last used.
If sign-in cannot register the assistant, use the registration steps below or ask the operator to check the allowed return hosts. If it connects but has no useful tools, review the person’s workspace grants. Browse allows reads; Work in change sets allows preparation. Neither gives publication through the assistant.
A person stops their own connection under Settings › Account, in Where you’re signed in. The session name includes (assistant). Sign out on that session ends its access. For all users of one assistant, block it below.
Create a client for a system’s assistant
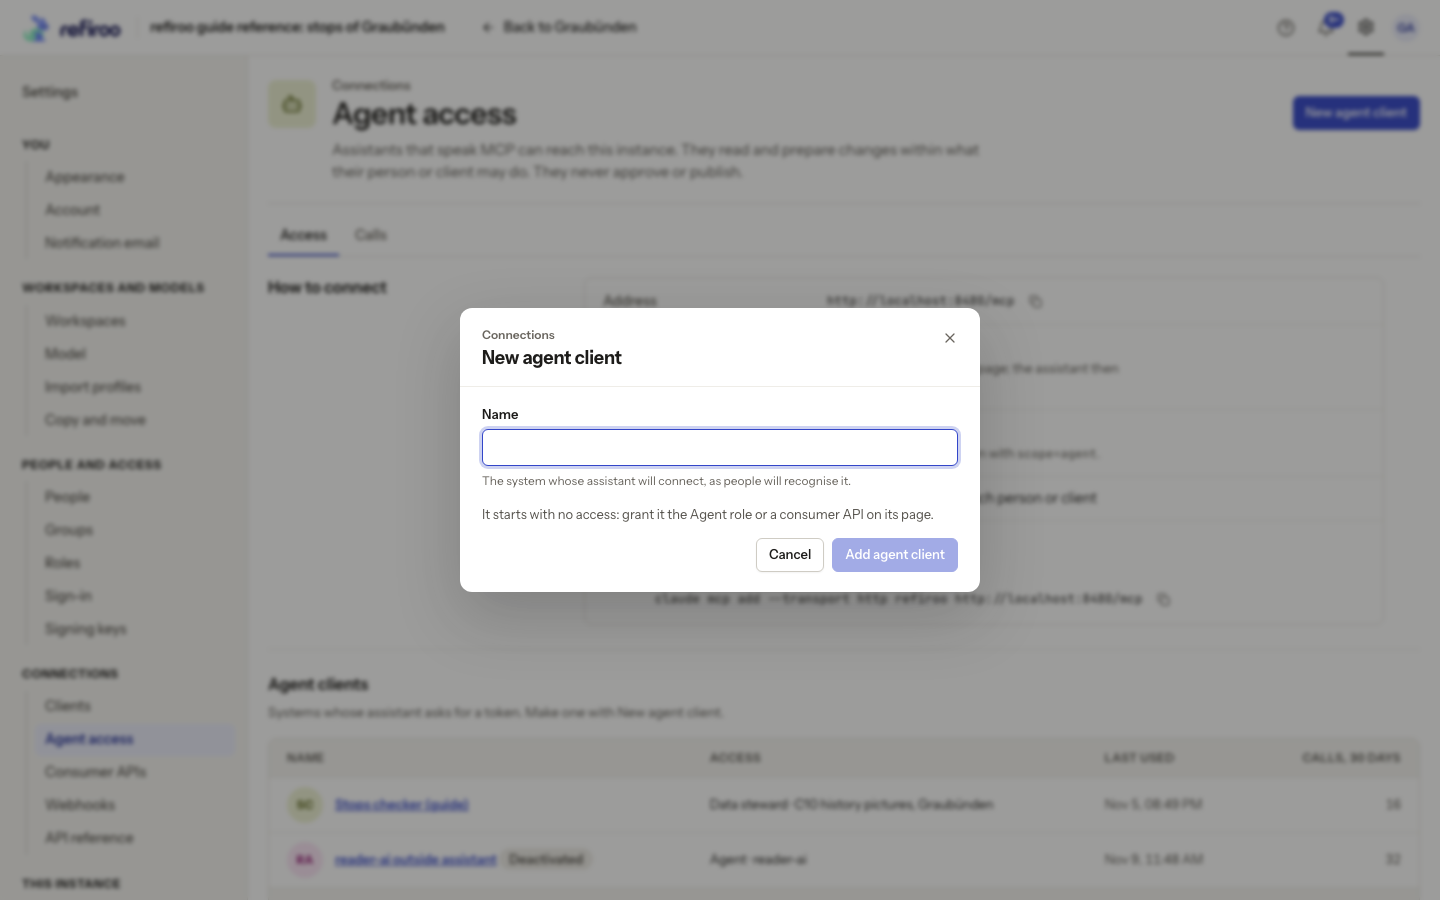
Section titled “Create a client for a system’s assistant”- On Agent access, under Agent clients, choose New agent client. This is different from New client on the ordinary Clients page.
- Enter Name, then choose Add agent client. The dialog Copy the client’s secret shows Client ID and the secret once. Give these to the responsible integrator through your organisation’s secure handover method. Choose I have copied it only after keeping what they need; the secret cannot be shown again.
- Open the new client’s name under Agent clients. Its normal client detail page opens. In Access, use Grant access to grant only the required role and workspaces. The Agent role gives Browse and Work in change sets; a custom role can provide a smaller set. A consumer API grant alone allows only that API’s lookup tool and information about the connection’s access.
- Ask the integrator to configure the system’s assistant with this client and the copied connection address. The integration instructions explain the connection details.
- Return to Agent access. Check Access, Last used and Calls, 30 days on its row, then open the Calls tab for the result. A new client has no access until you grant it.
For a lost secret, use Rotate a client secret. To stop a system’s assistant, open its client and choose More actions › Deactivate, then confirm. Its next request is refused. Restoring a client does not widen its grants.
Register an assistant for people
Section titled “Register an assistant for people”Use this when self-registration is off or its return host is not allowed. Registration does not give the assistant its own workspace access: each person still signs in and works through their own grants.
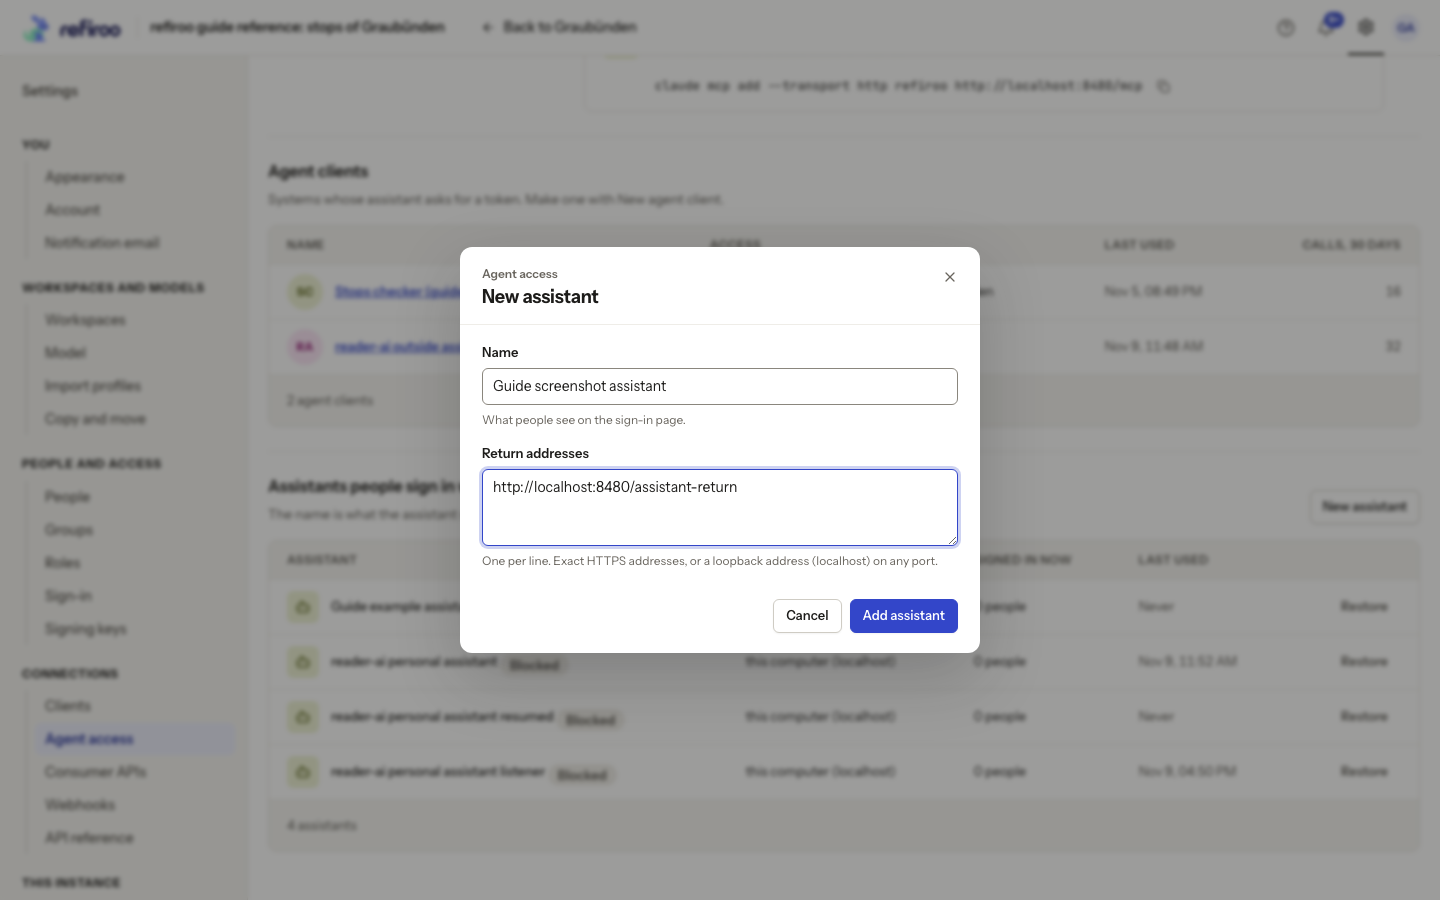
- Under Assistants people sign in with, choose New assistant.
- Enter Name, the name people see on the sign-in page. Under Return addresses, enter the exact addresses supplied by the assistant’s administrator, one per line. They must use HTTPS, or HTTP loopback addresses on the same computer. Enter at most ten addresses, each at most 2,000 characters, without a fragment.
- Choose Add assistant. The assistant appears in the list and people can sign in with it. If The assistant was not registered appears, correct the reported problem and try again.
Block or restore an assistant
Section titled “Block or restore an assistant”- Find it under Assistants people sign in with. Check the name and Returns to so you block the intended one.
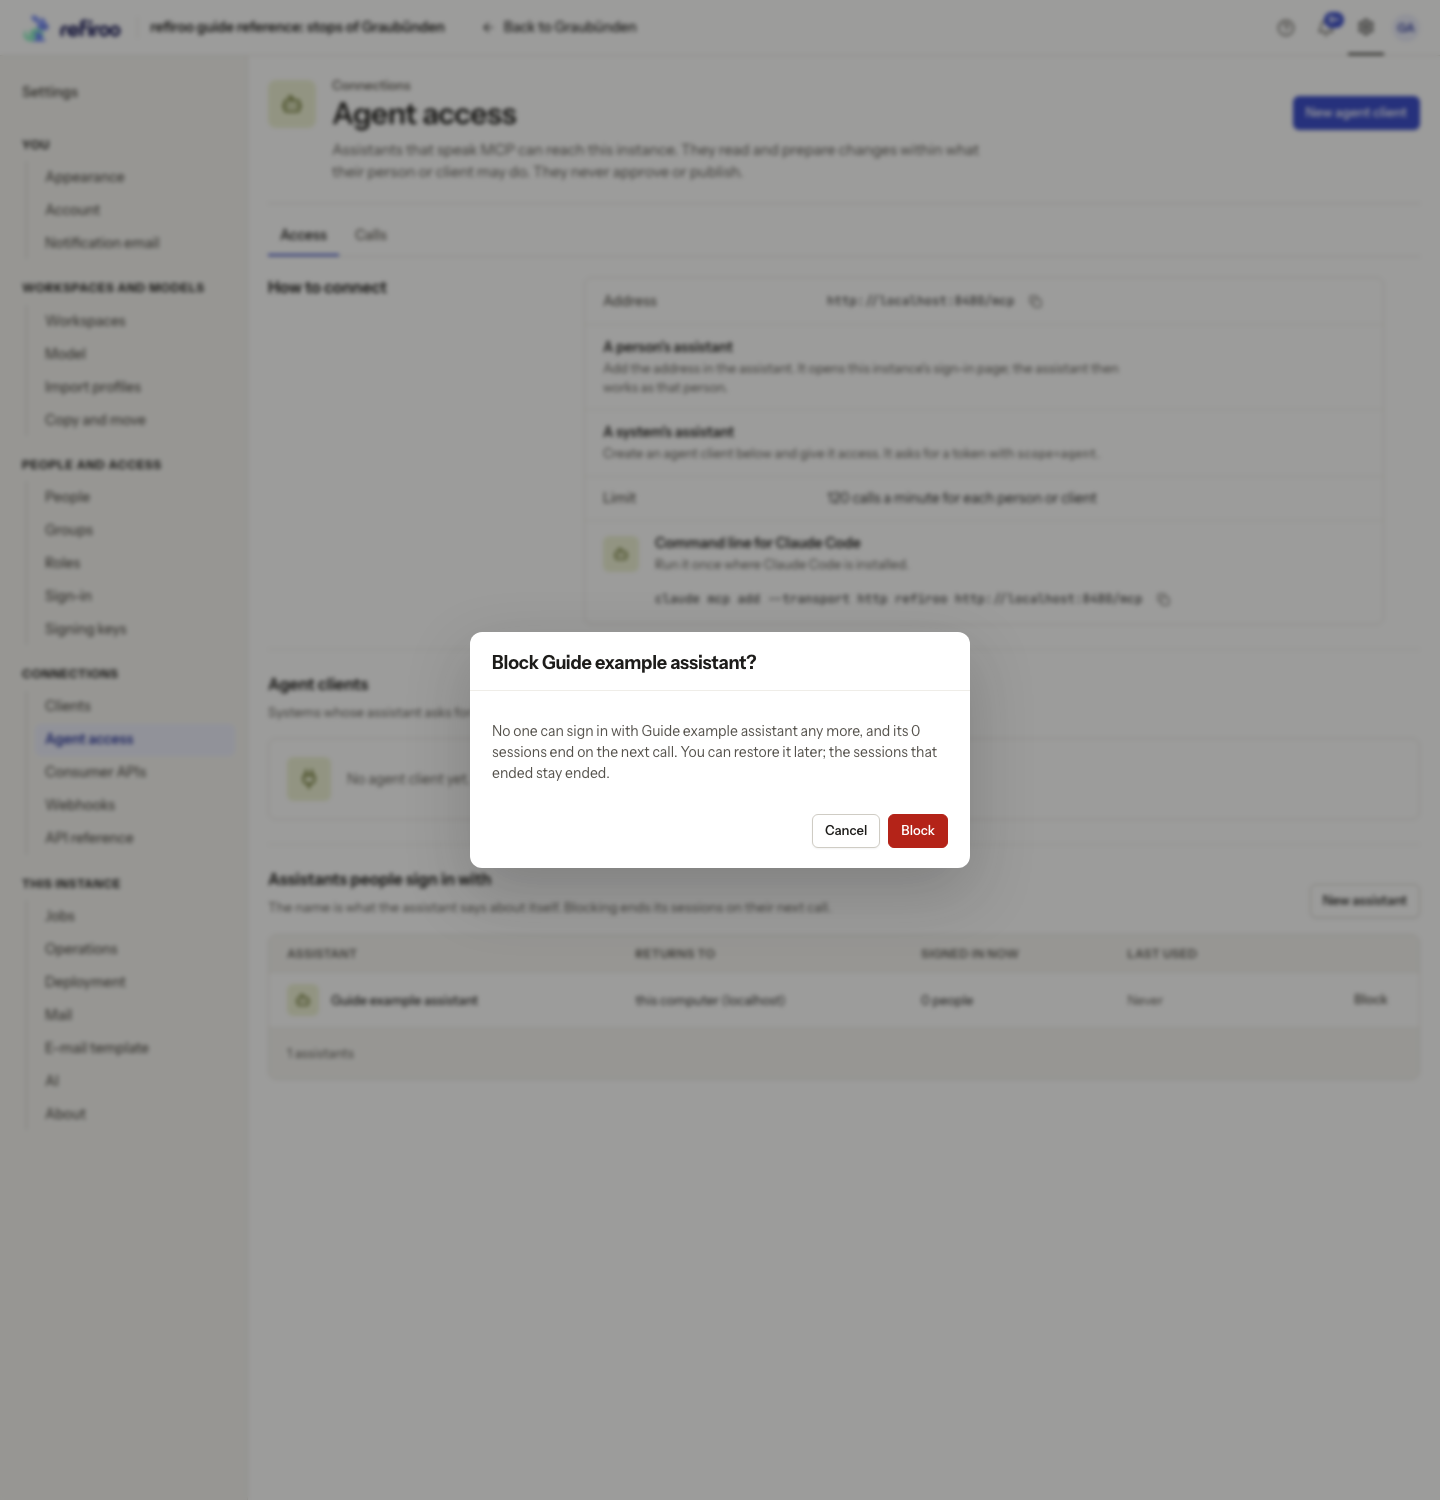
- Choose Block. The confirmation names the assistant and how many sessions end. Confirm with Block.
- The row shows Blocked. No one can sign in with it, and existing sessions end on their next call.
- To allow it again, choose Restore. People can sign in again; ended sessions stay ended.
Use client deactivation for a system’s assistant, and account sign-out for one person’s session. Blocking an assistant registration affects all people signed in through that registration.
Investigate a call
Section titled “Investigate a call”Open the Calls tab, newest first. Who is the person or client; Through identifies the assistant or says Its own client. Tool is the operation it asked for and Arguments lists names only, never values. Outcome says Answered, Refused, Limit reached or Failed. Choose Show more for older calls.
For Refused, inspect the caller’s grants and the work it requested. An assistant cannot reach a colleague’s change set or approve or publish, even when its person can. A submitted change set is frozen to it; a person must deal with the review. For Limit reached, allow the wait requested by the service before another attempt. For Failed, ask the integrator for the error returned to the assistant, then involve the operator as needed. The call list shows the outcome, not the failure explanation or the assistant’s conversation.
Calls normally remain for 90 days. The client row’s 30-day count is a reporting window. Check actual data changes in the audit and history, and review prepared changes through the normal approval process.
To replace registered return addresses, register a new assistant with the corrected addresses, have people reconnect and sign in, then block the old registration. There is no registration edit or delete control. Blocked and administrator registrations are kept; inactivity cleanup applies only to unblocked self-registrations without an open session.