Create a model draft
Create a draft to shape definitions without changing a workspace yet. You need Model authoring. Read Models for the difference between a draft, release and activation.
Start from a release or an empty model
Section titled “Start from a release or an empty model”- Open Settings, then Model. Find the model you intend to extend. Check which workspace runs it; another workspace may use a different model.
- Choose New draft. Enter a Draft name that identifies the work rather than an installed version. The draft name can differ from the model’s name.
- For Starting document, choose Installed release to retain its applications, types and views, then select the intended Base release. Choose Empty model for a new model with no applications or types. An empty draft needs those elements added before people can use it.
- Choose Create draft. Wait for the editor and check its name, base release and version in the header. If creation is refused, read the reason and correct the named problem. A missing base release or empty draft name prevents creation. Cancel closes the dialog without creating a draft.
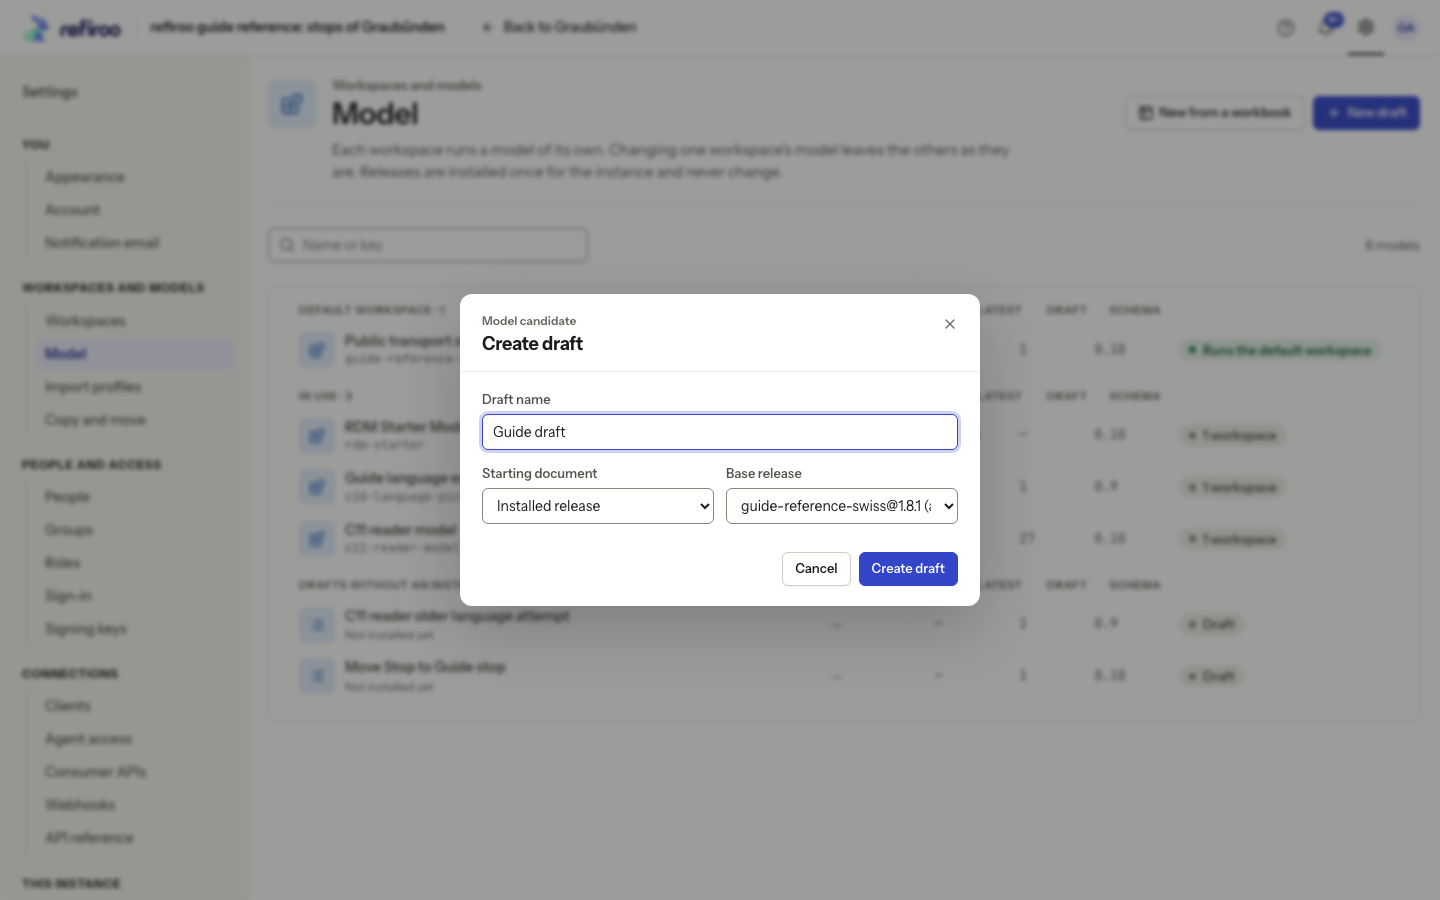
Above: Guide draft is named and an installed Graubünden release is selected. This captured dialog was cancelled; it did not create a draft.
From a model’s overview, New draft from its release starts the same flow. On an installed release’s own page, use Create draft from release. On Drafts, select a saved draft to continue existing work instead of creating another.
Start from a workspace
Section titled “Start from a workspace”- Open Settings, Workspaces, then the workspace you intend to change.
- On Overview, check Model, then choose Edit model. This opens its existing current draft where one is available, or prepares one from its running release.
- Check Applies to in the editor header. Its main action is Apply to this workspace…; opening the editor has not applied anything.
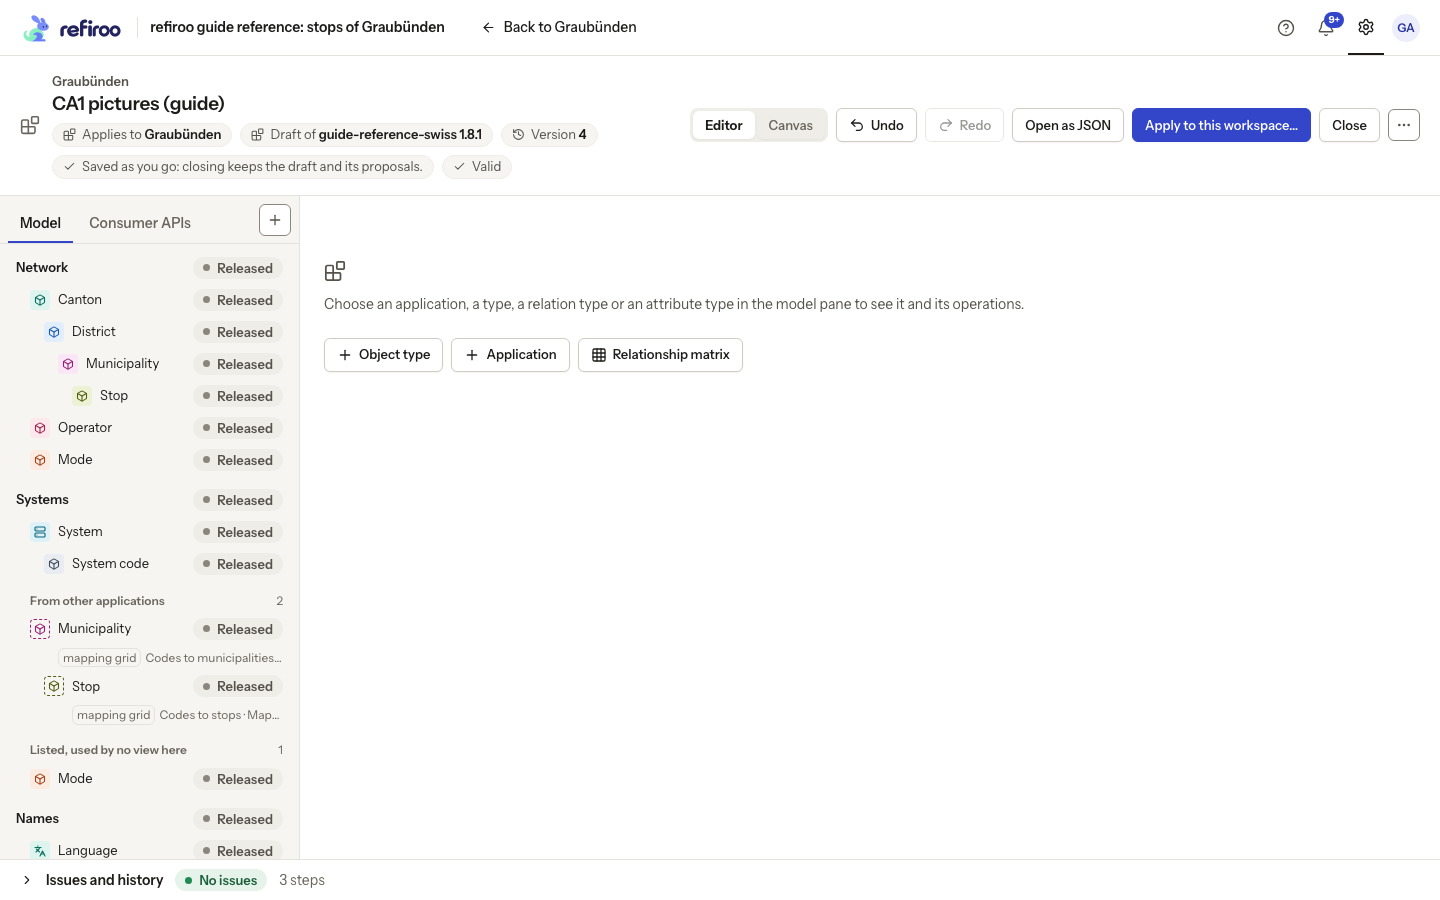
Above: The workspace draft applies to Graubünden and offers Apply to this workspace….
This route needs model authoring and release access for that workspace. If it is unavailable, ask an administrator to check access and whether the workspace is retired.
Continue the draft
Section titled “Continue the draft”Choose an application or type in the model pane, or add one with the plus button. Follow Add a record type and fields. Close leaves the saved draft available for later; it does not discard your work or activate it.
If the starting material is a spreadsheet, choose New from a workbook instead and follow Load a workbook. That guide covers the source and proposals.
For an existing model document, choose Import JSON under Starting document. A specialist model author can paste it in JSON document or use Or choose a JSON file (or drop the file onto that field), then create the draft. Read validation issues before installing; importing does not activate it. For ordinary changes, starting from a release and using the model editor keeps the work in named controls.